

08 Mar Old Glory Bottle Cap Flag Art in Progress: March 4-8
Week Three. The first panel is done and the stripes are finished on panel two. I moved on to the third panel partly to give my hand a rest from bending the stars and partly so I could get video footage of the second panel to show how the stars are done for the documentary film shot by Stephen Blauweiss.
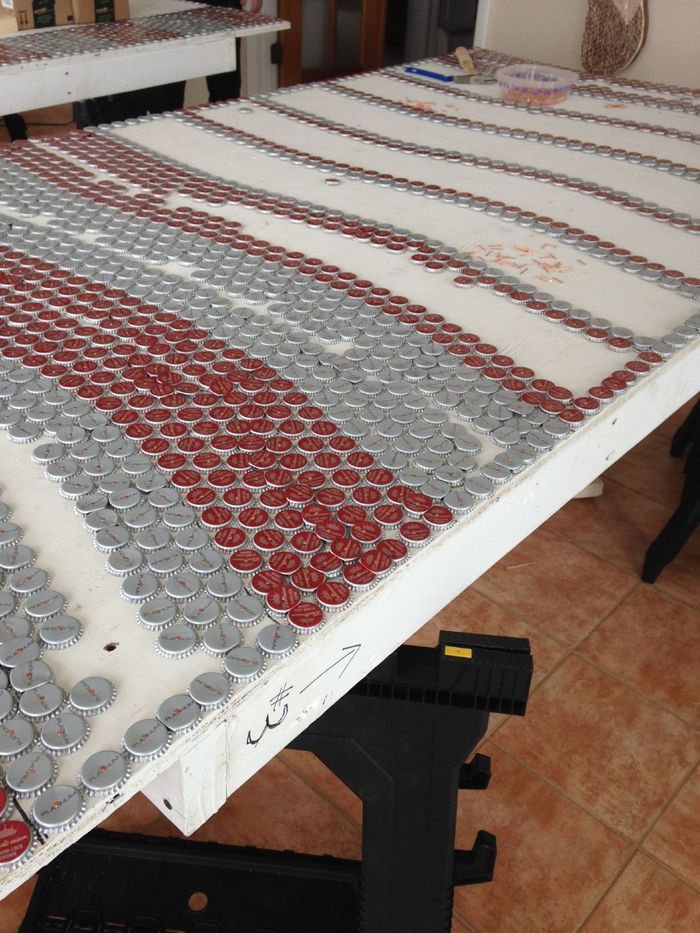
You can see that I’ve marked the number and orientation of the middle panels on the sides.
This photo gives a good sense of how and why the curves throw off the staggered rows of caps and why fill in caps need to be laid in over the gaps. I never entirely flatten a cap… at least some portion of the rim is always left intact. Keeping part of the rim does two things— it interlocks the caps more tightly to make a stronger piece and it preserves the feeling of depth that makes the overall look of the work much richer.
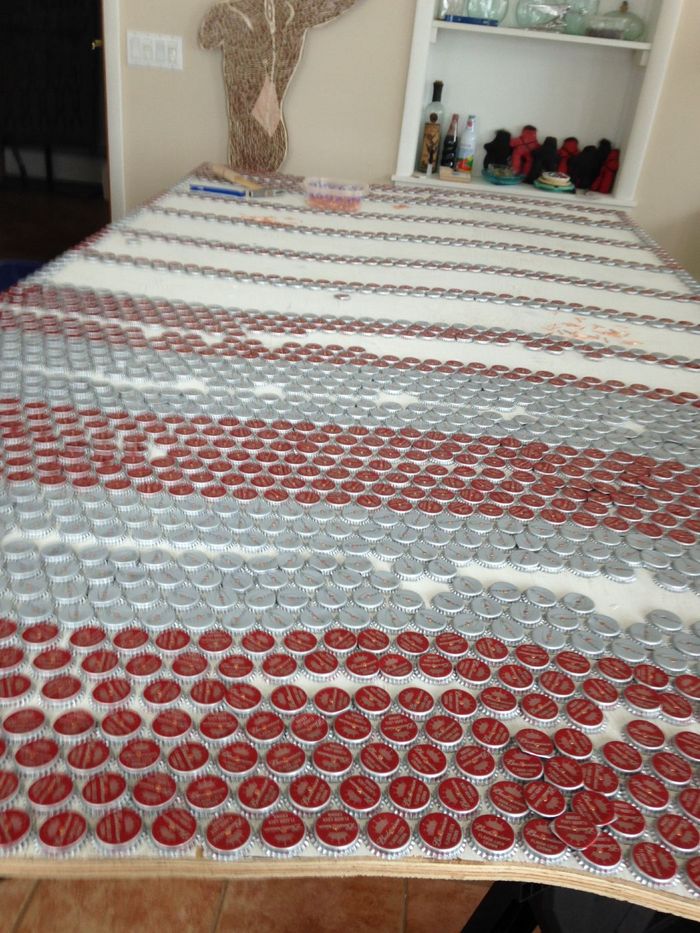
Nearly finished with panel three. As I get deeper into the project, I realize that I can work fastest if I do all the parts that line up properly first, and then follow up to finish all the areas that need overlays. They key to getting a project this big done on such a short deadline is to batch process things as much as possible.
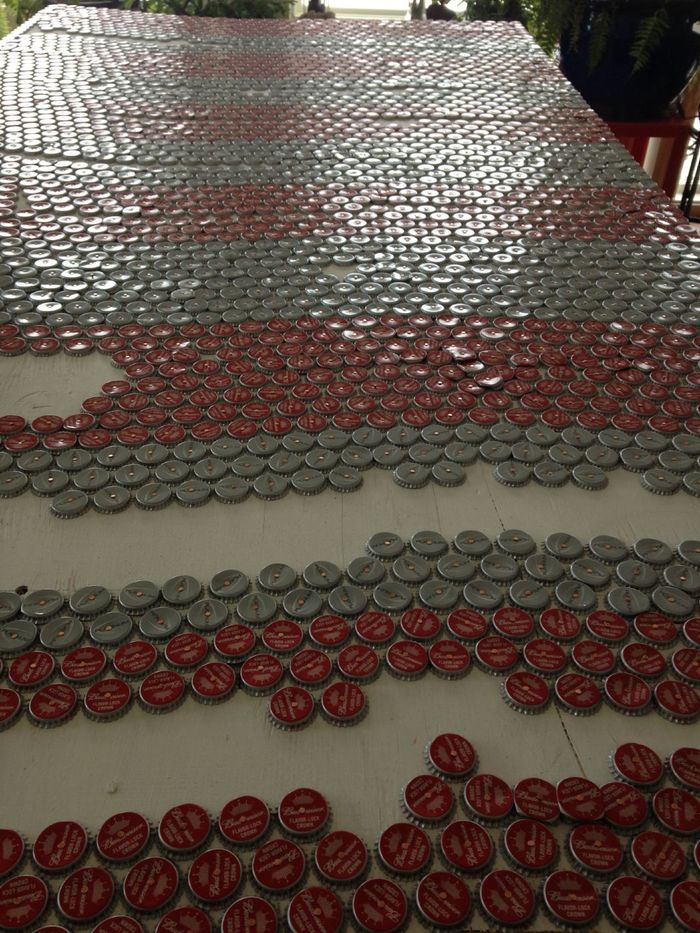
Very close now! Just small areas to fill in. These can be the most difficult part, really. Each overlay cap has to be crimped with the hammer and fit to a specific space. One difficulty can be figuring out exactly which space you modified a given cap for… with 1000’s of caps on each panel, that all look a lot alike, you can lose your place when you turn your head to work on flattening the cap.
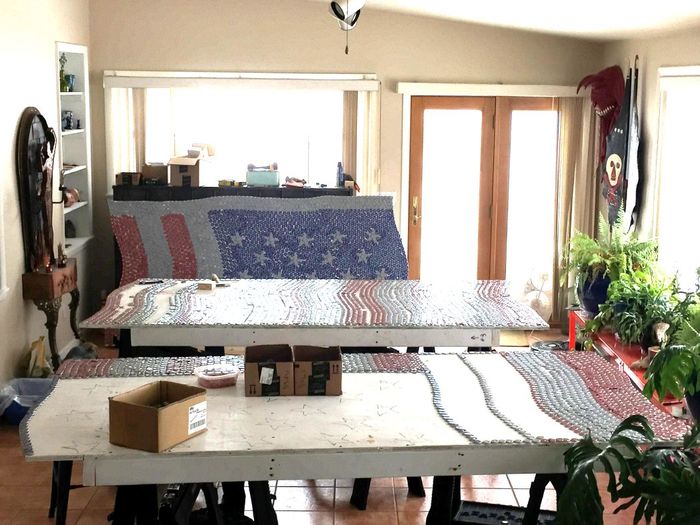
Overview of the work space. Panel one is done and leaned against a cabinet at the far wall. Panel two and three in partial states of completion.
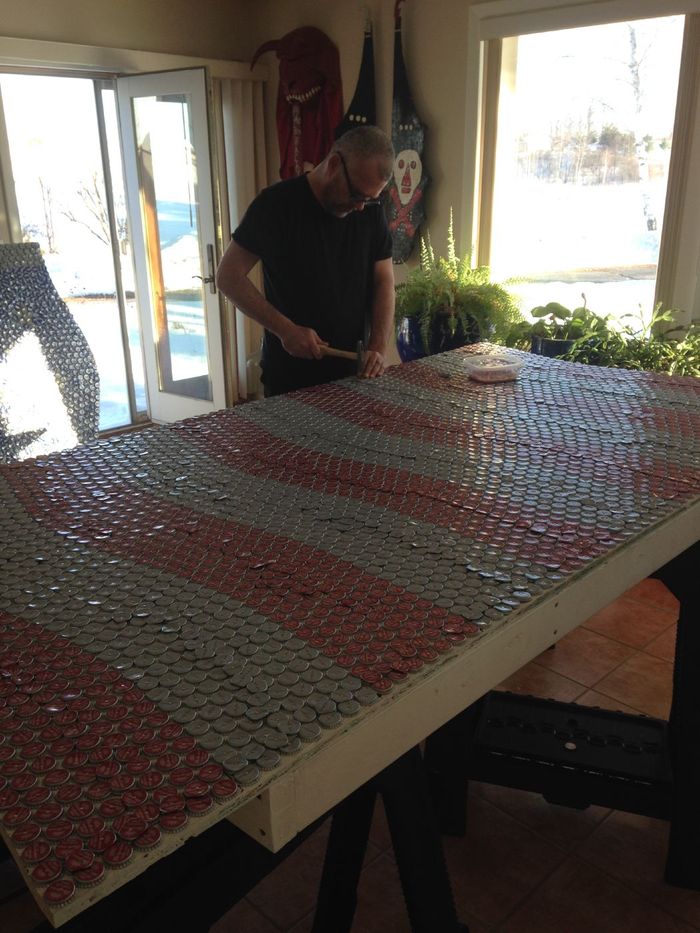
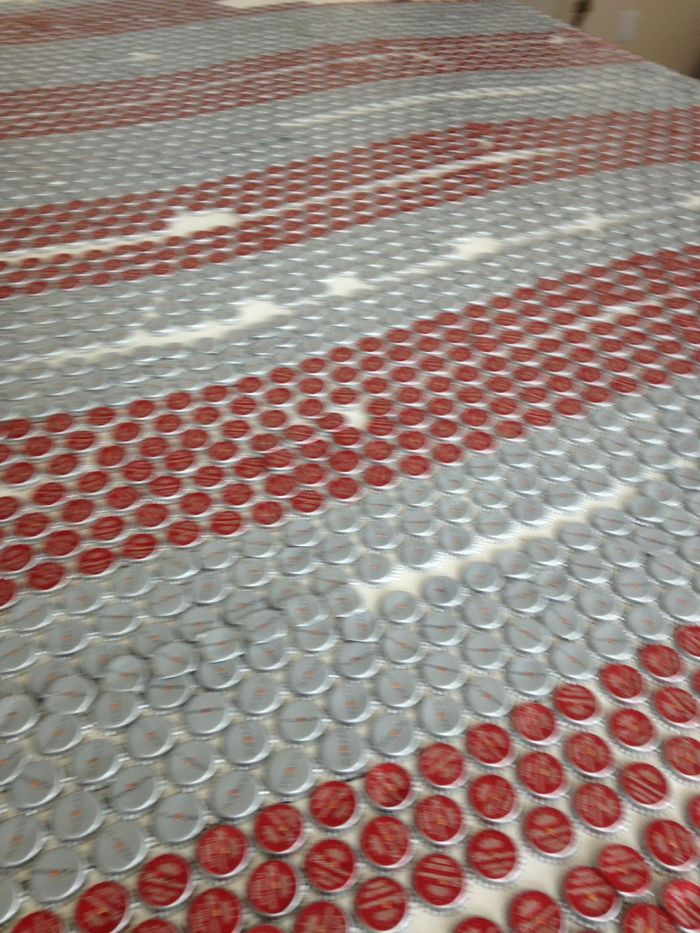
Putting the last of the caps on Panel three.
Follow the creation of Old Glory from start to finish—
- The Making of Old Glory, Part One: February 12-21
- The Making of Old Glory, Part Two: February 22-28
- The Making of Old Glory, Part Three: March 4-8
- The Making of Old Glory, Part Four: March 9-12
- The Making of Old Glory, Part Five: March 18-21
- The Making of Old Glory, Part Six: March 22-28
- The Making of Old Glory, Part Seven: April 4-17
- The Making of Old Glory, Part Eight: Stagecoach Festival Setup
- The Making of Old Glory, Part Nine: Old Glory on View at Stagecoach Festival
- The Making of Old Glory, Part Ten: The Documentary