

17 Apr Old Glory Bottle Cap Flag Art in Progress: April 4-17
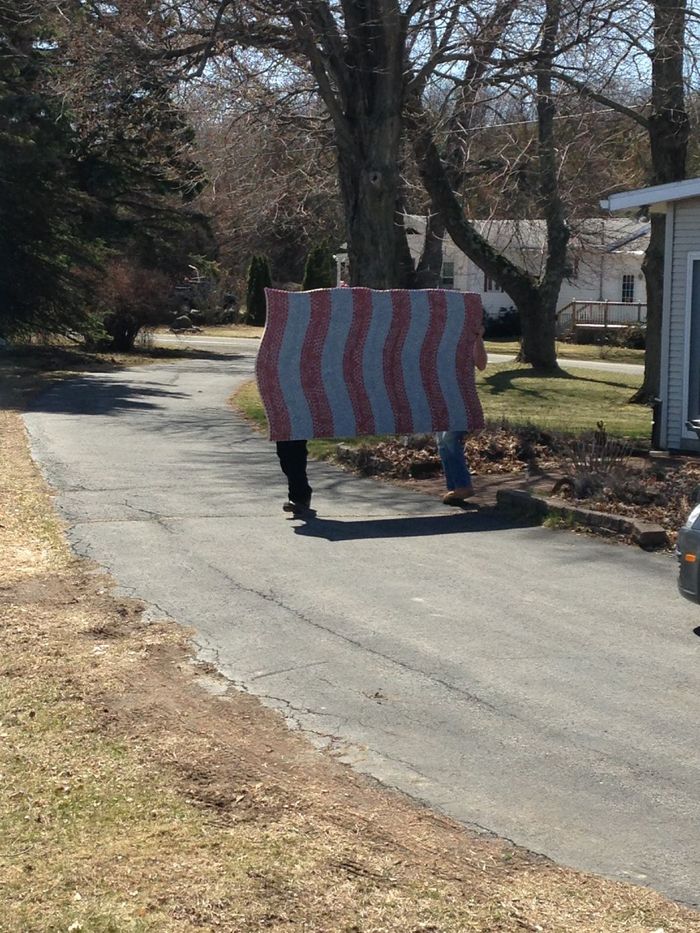
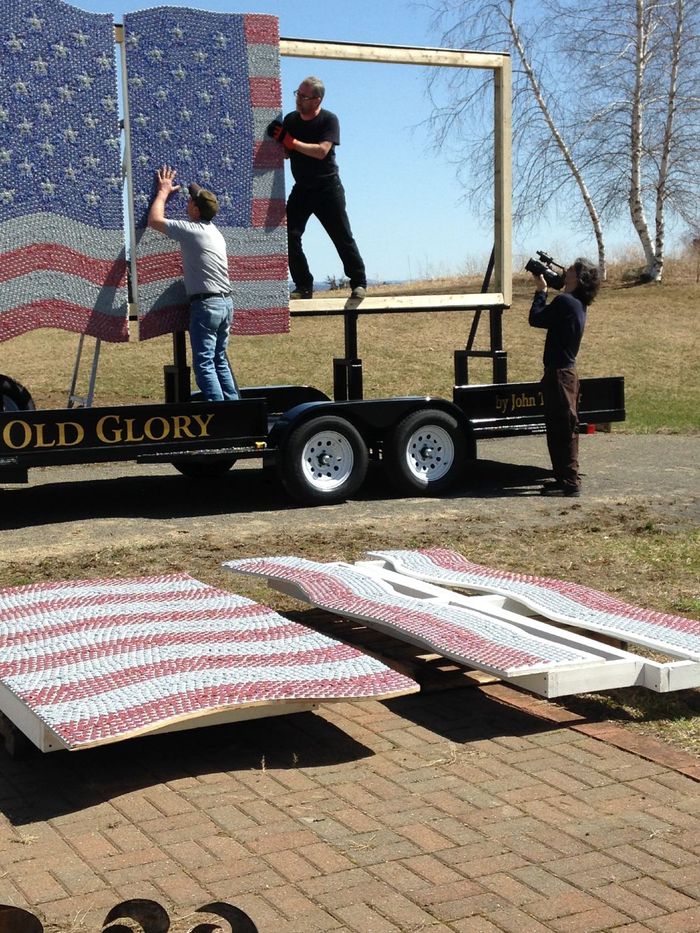
The trailer is here and it’s install day! My studio assistant Jamie and I carry out the first of the big sections.

Laying all the panels out and hoping that they fit easily into the framework as planned.
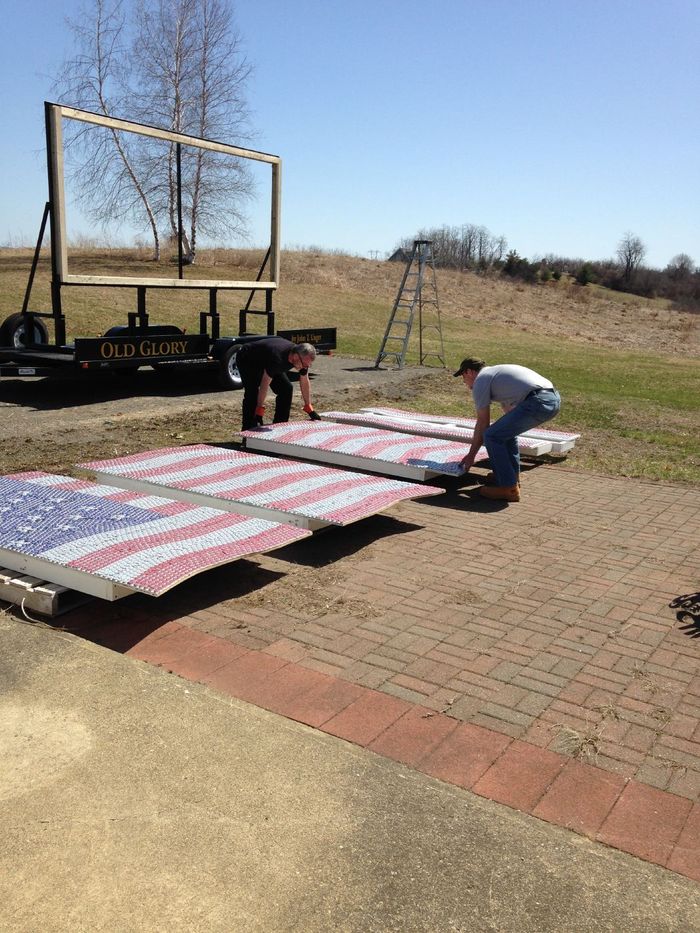
My plan was for the flag panels to mount to 4×4 posts that were attached horizontally across the steel framework. Ideally those would have had slotted attachments to allow a little give to the position of the 4x4s. When Craig Bernstein of H&H Fab Works built the trailer, he altered the design to make it stronger, but it’s going to be a very precise and tight fit now. Will it work? The 2×4 frames of the flag panels have warped a little so I’m worried.
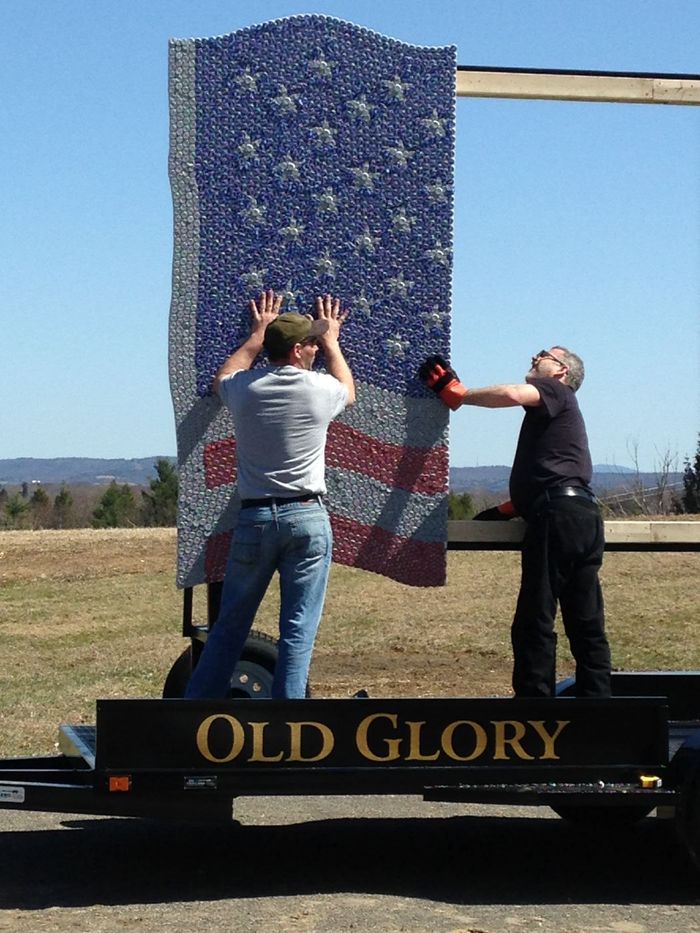
The first panel went in pretty easy!
Lifting the second panel.
Placing the second panel.
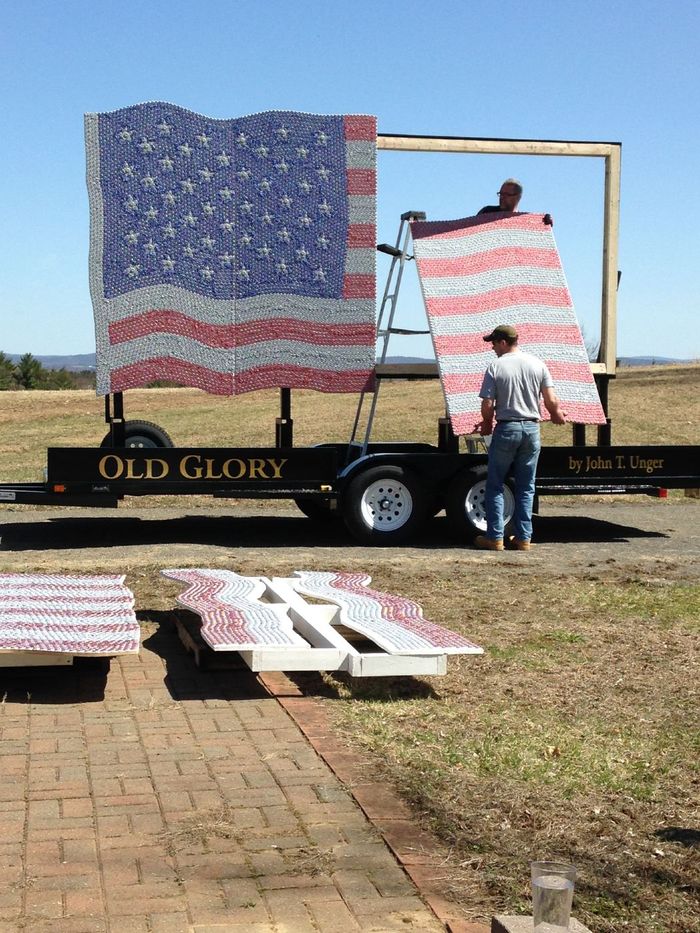
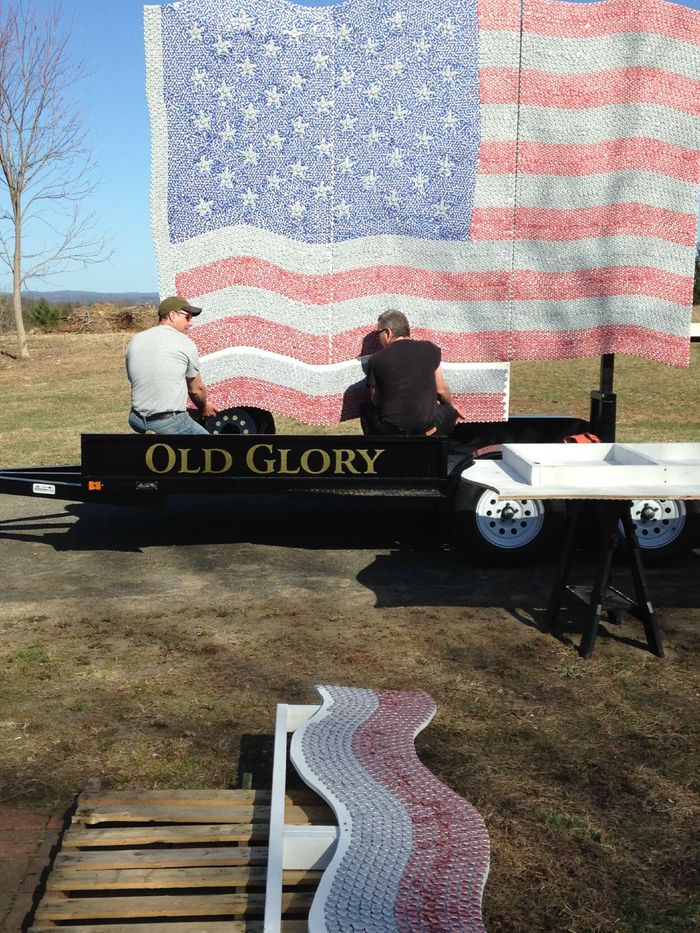
It was a tight fit, but panel two went right in also. When we got to the third panel though, the frame was too tight and we realized we would have to make some modifications. There wasn’t a lot we could do to alter the framework on the trailer, so the easiest way to fix it was to shave down the frames of the panels. After a few attempts to fit panel three, I called a break to make sure we took our time and got it right.
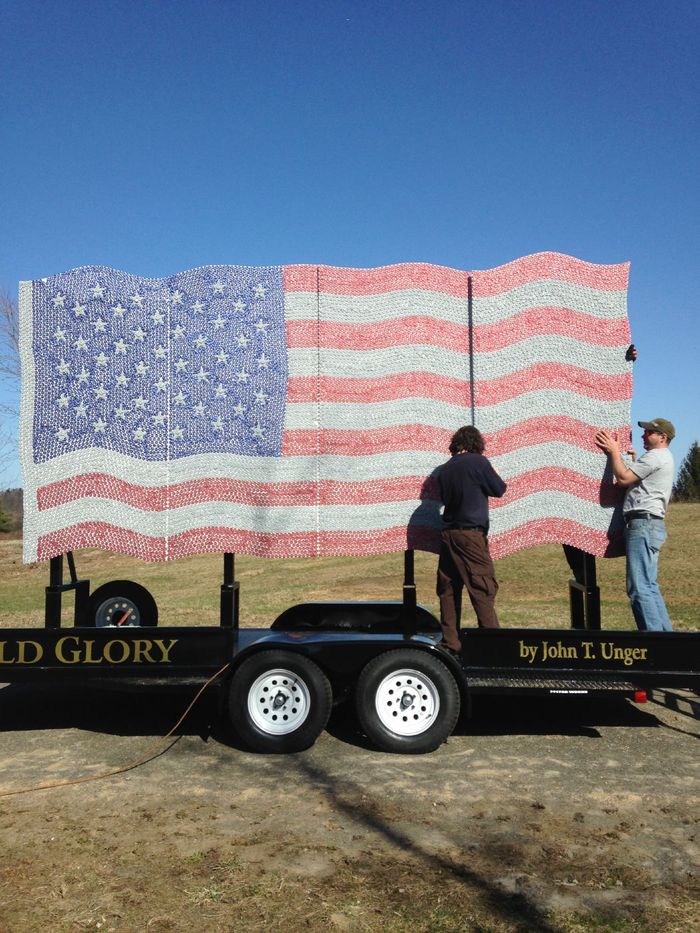
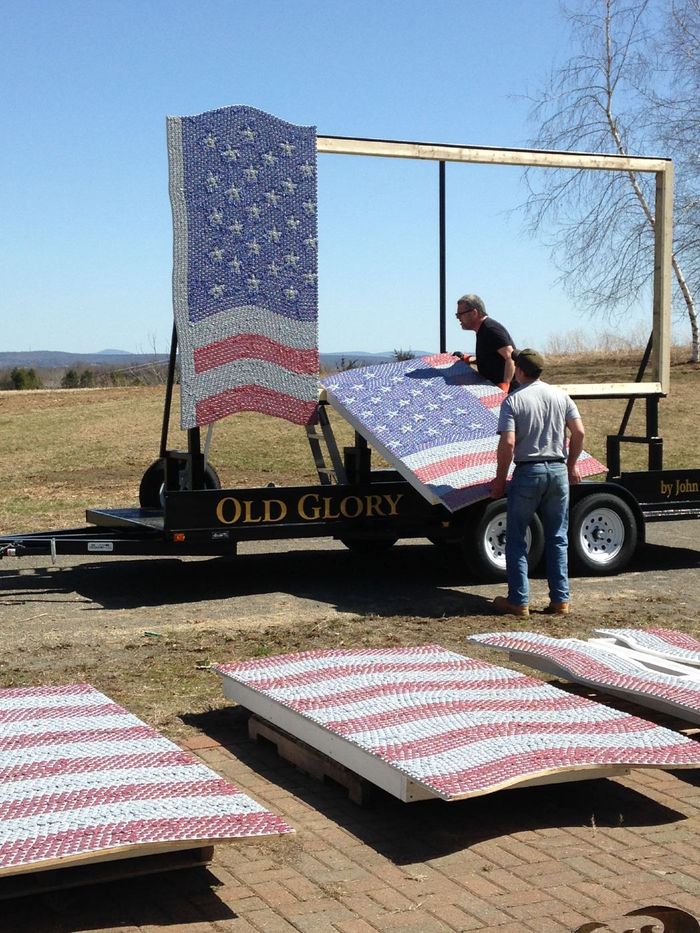
This is now the second day of install. The third panel had to be shaved down to fit. The fourth panel required quite some finesse as well and we had to remove one of the vertical 4x4s and replace it with a 2×6. The lack of symmetry bugged me, but at this point we only had a couple days before the piece was due to leave for California.
The view of the structure from the back as we install the last big panel. For the most part, the panels are held in place by 3 inch drywall screws screwed into the 4x4s. Once we had it fully assembled I also added several 1/2 inch bolts to tie the panels together. The bolts served a double purpose— not only did they add strength, but they would help align the panels during final assembly. That turned out to be invaluable later and made final assembly go much faster.
Putting on the bottom stripes.

All the panels are assembled and I can fill the last bits of the seam on the lower panels. It’s a lot harder to nail the caps on when the surface is vertical! Look how the flag gleams in the sun though!
Marcie filmed me putting on the very last of the caps so we’d have footage of the beginning and end.
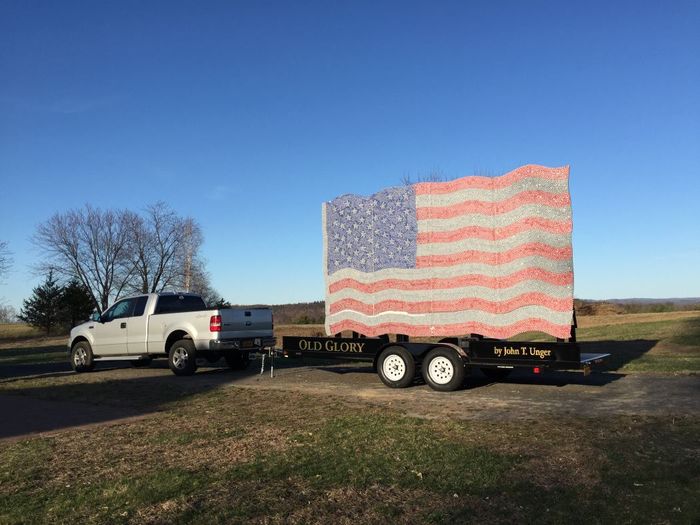
A little more seam to fill, but I wanted a good shot before the light failed. The truck gives you a pretty good idea of how huge this flag is.
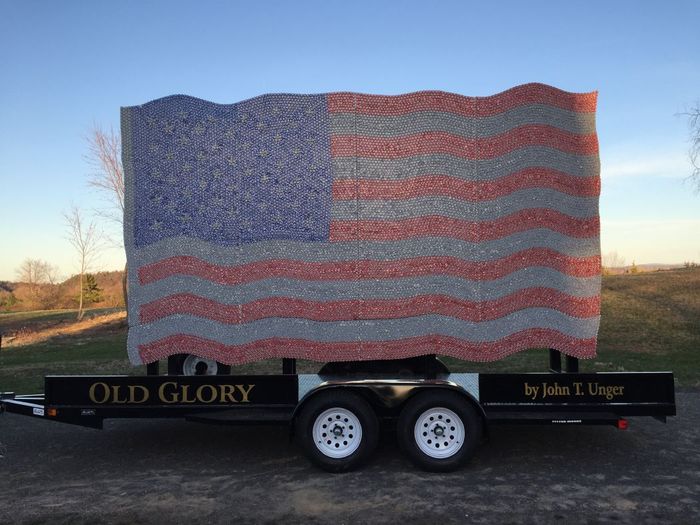
And here it, Old Glory in all her glory, finally finished well within deadline. There’s a cool glow to the caps on this photo.
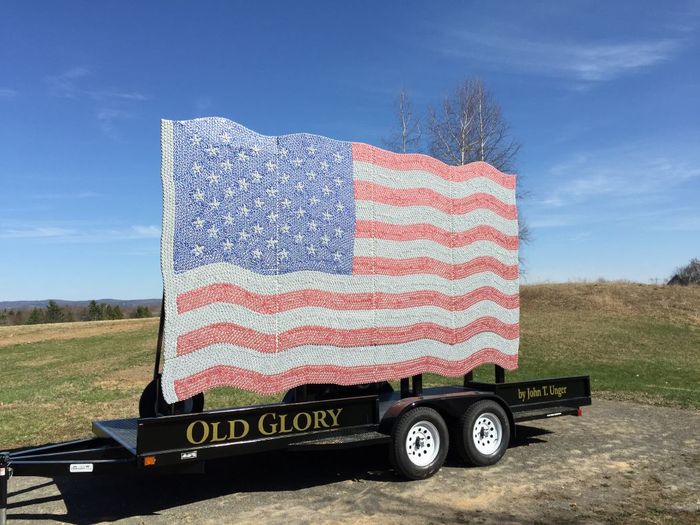
And here she is in bright sunlight.
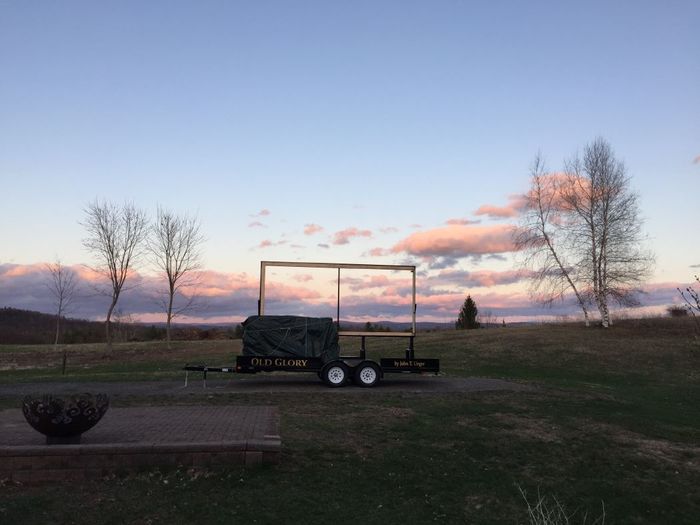
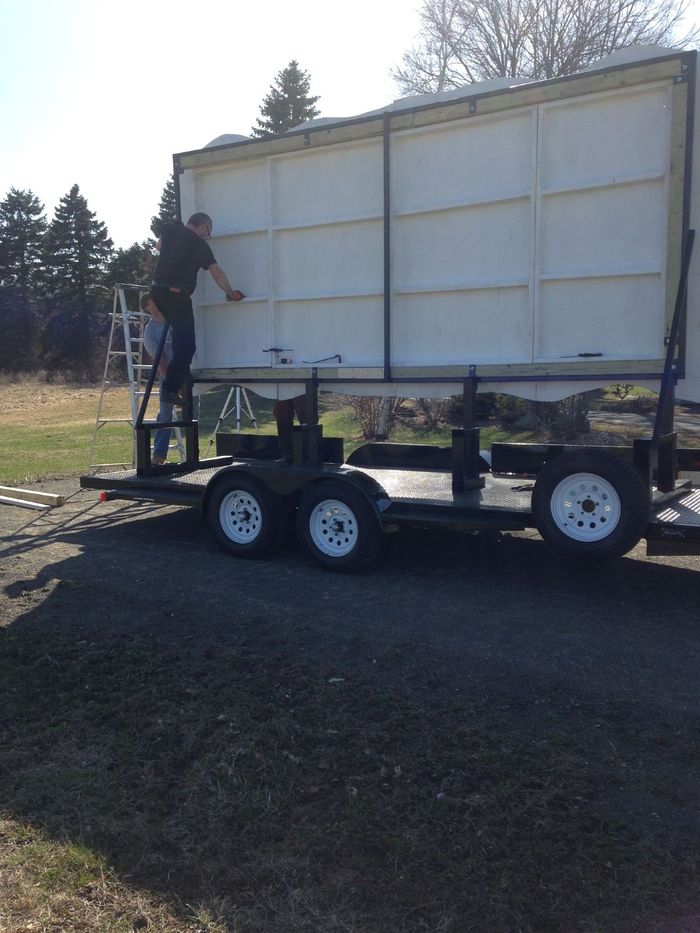
All packed up for the drive to California. I had intended to ship the piece fulled assembled but it’s so high we were concerned about bridges and overpasses. Also, having the flag fully assembled would have been dangerous in high winds. So the final, final assemble will happen onsite at Stagecoach.
Follow the creation of Old Glory from start to finish—
- The Making of Old Glory, Part One: February 12-21
- The Making of Old Glory, Part Two: February 22-28
- The Making of Old Glory, Part Three: March 4-8
- The Making of Old Glory, Part Four: March 9-12
- The Making of Old Glory, Part Five: March 18-21
- The Making of Old Glory, Part Six: March 22-28
- The Making of Old Glory, Part Seven: April 4-17
- The Making of Old Glory, Part Eight: Stagecoach Festival Setup
- The Making of Old Glory, Part Nine: Old Glory on View at Stagecoach Festival
- The Making of Old Glory, Part Ten: The Documentary